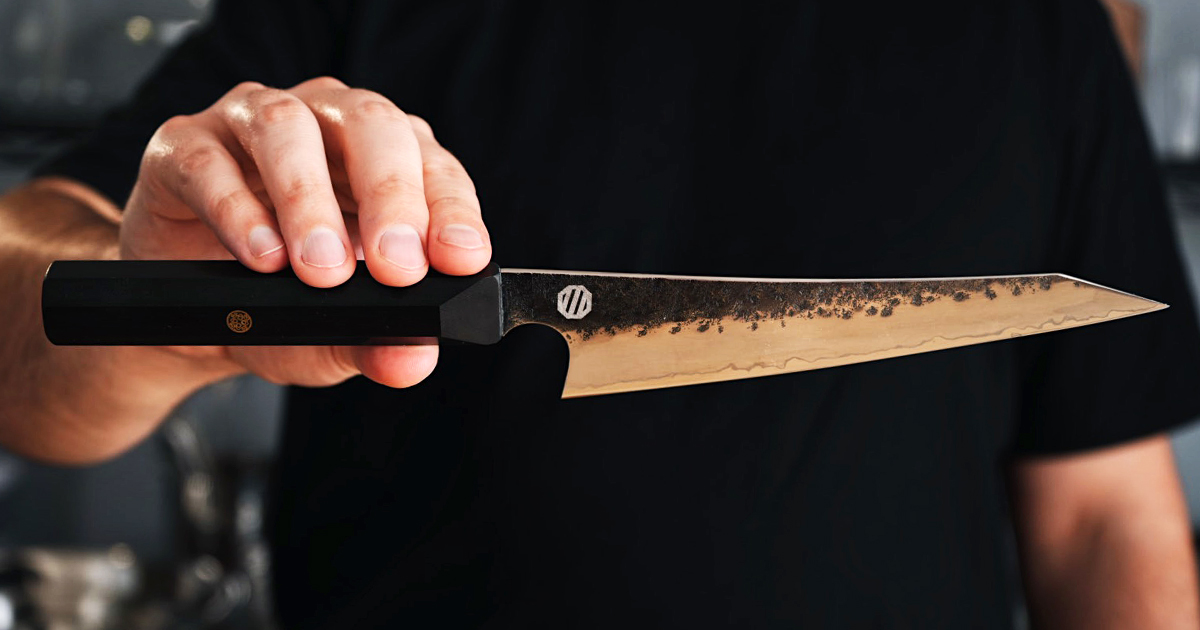
Best Knife Sharpening Equipment: The Ultimate Kitchen Guide
The Ultimate Guide to the Best Knife Sharpening Equipment: What You Actually Need!
If you want to understand the exact science of cooking, it starts long before the heat hits the pan. It begins with the most fundamental tool in your kitchen, your knife.
The reason why having the best knife sharpening equipment is so important is because the sharpness of the blade actually affects the flavor of the food. When you cut into an onion with a dull blade, you aren’t slicing, you are crushing. A dull knife tears through cell walls, releasing the volatile compounds that make you cry as well as releasing the onion’s flavor. When you chop herbs, a blunt edge causes severe cellular damage, leading to rapid oxidation and bruised herbs. A razor-sharp blade can cleanly sever cell walls, preserving the structural integrity, moisture, and flavor of your ingredients.
Maintaining that microscopic edge requires the right tools. Whether you are a home cook looking for a quick sharpen or someone who wants a mirror-polished edge, here is the complete breakdown of my $1,800+ knife sharpening setup, what each piece does, and the pros and cons of each.
At the end I also talk about which options are best and what supplies you should have regardless of the sharpening method you choose!
(Disclaimer: This post contains affiliate links. As an Amazon Associate, I earn from qualifying purchases at no extra cost to you. This helps support the content!)
1. Ceramic Honing Rod
Shop the Ceramic Honing Rod on Amazon
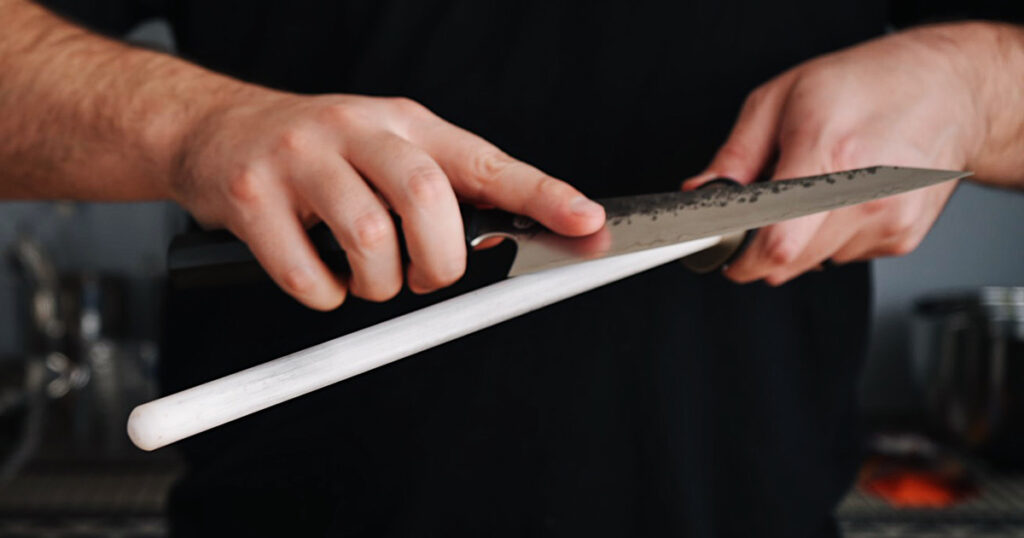
Contrary to popular belief, a honing rod does not actually sharpen your knife (meaning it doesn’t remove metal to create a new edge). At a microscopic level, your knife’s edge can roll to one side during normal use. A honing rod simply pushes that microscopic edge back into alignment. Ceramic is the ideal material for this because it is significantly harder than the steel of your knife, making it incredibly effective.
Pros:
- Keeps your knife performing perfectly between actual sharpening sessions
- Inexpensive
- Ceramic removes less metal than diamond rods, extending your blade’s lifespan
Cons:
- It is brittle; if you drop a ceramic rod on a tile floor, it will likely shatter.
2. Rolling Knife Sharpener
Shop the Tumbler Rolling Knife Sharpener on Amazon
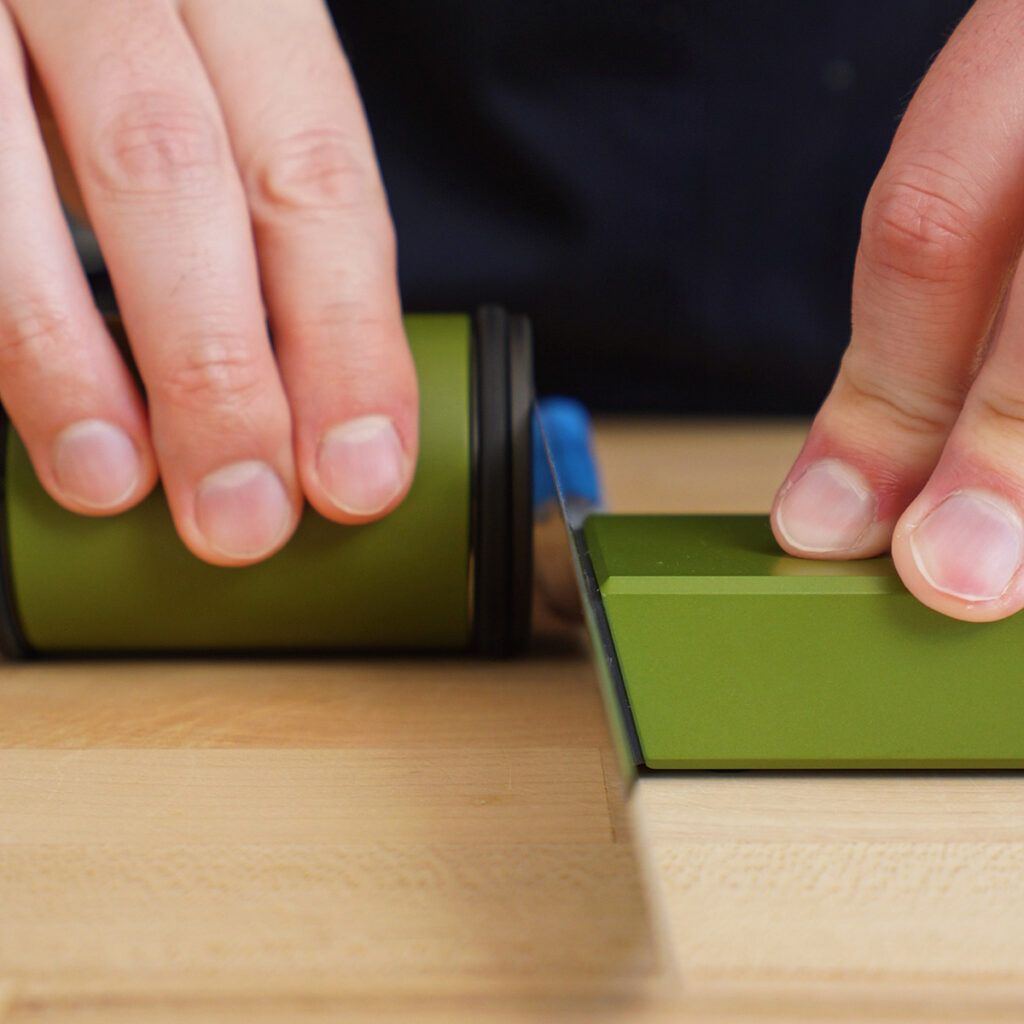
This is the greatest innovation for home cooks who are intimidated by whetstones or don’t have a large budget for a Tormek. It uses a magnetic block to hold your knife at a precise 15 or 20-degree angle, while you roll a diamond abrasive disc along the edge of the knife. It takes the guesswork entirely out of maintaining a consistent angle.
Pros:
- Perfect, consistent angles every single time
- Incredibly easy to learn; great for quick touch-ups
Cons:
- At $160, it’s an investment
- It struggles with highly curved blades or very small/thin knives
- It requires the knife edge to be pointed up which can be dangerous if you slip
- It does not get your knives as sharp as a Tormek or whetstones
3. Tormek T-1 Kitchen Knife Sharpener
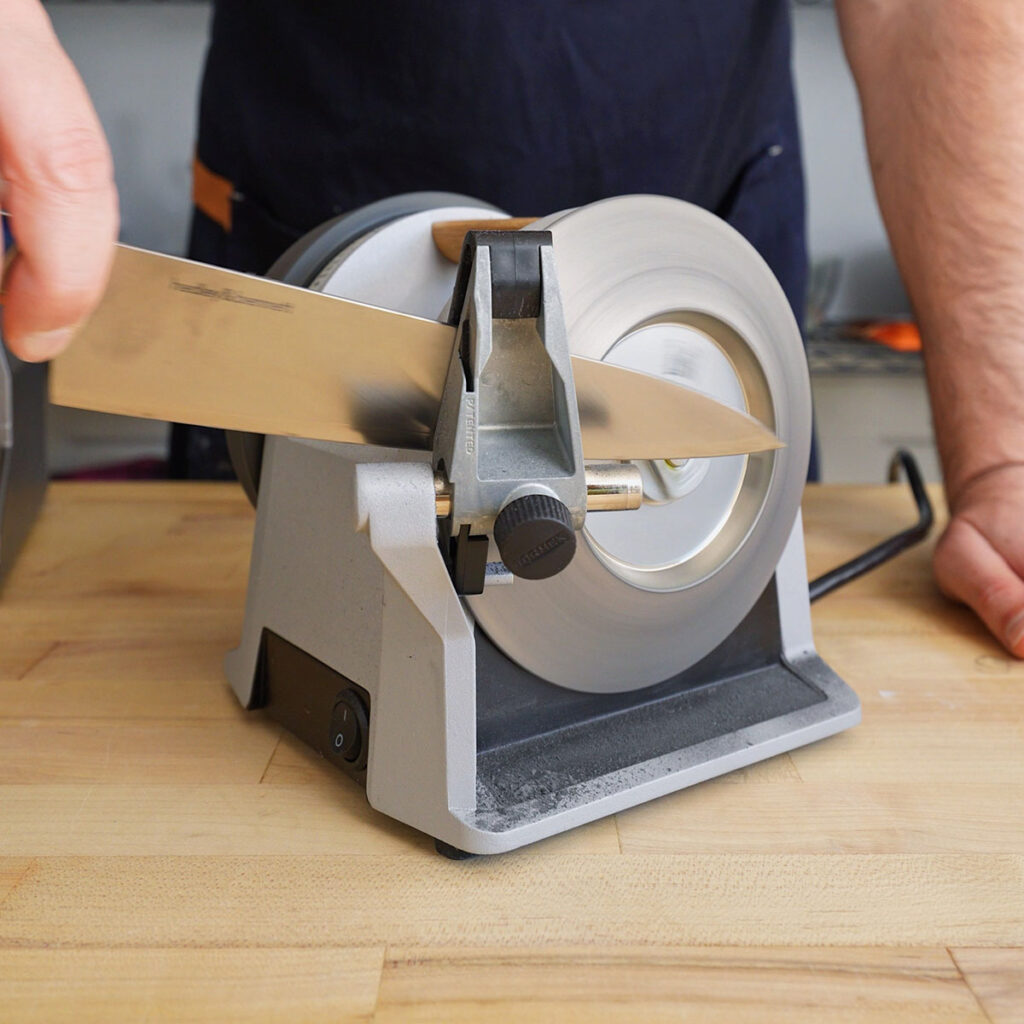
If you want professional-level results at home without spending hours on stones, the T-1 is a beast. It uses a fine-grained diamond wheel and a composite honing wheel to set a new bevel and polish the edge in minutes or even seconds depending on your starting point. Many consider Tormeks as the best knife sharpening equipment that money can buy.
Pros:
- Sharpens knives very quickly
- Incredibly precise
- Wide range of angles to choose from
- Runs quietly
Cons:
- Expensive ($430)
- Takes up dedicated counter or cabinet space
- Must remove the angle clip to use with taller knives like cleavers
4. Tormek T-2 Pro Kitchen Sharpener
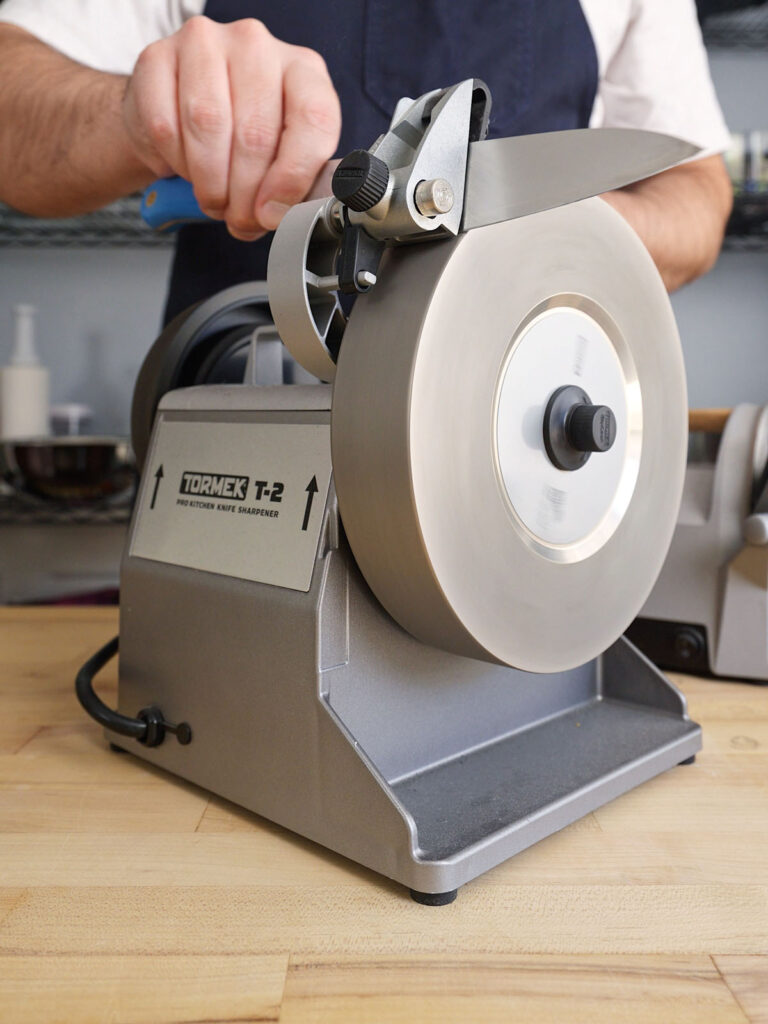
This is the commercial older brother to the T-1. It is designed for professional kitchens that need to cycle through dozens of chef’s knives a day. It is a workhorse that grinds a perfect edge with almost no risk of overheating the blade, without needing to prep whetstones, and without even having to find the right angle. Just set the angle, turn it on, and go!
Pros:
- Sharpens knives extremely quickly
- Incredibly precise
- Wide range of angles to choose from
- Has the durability you would expect from a commercial kitchen tool
- Larger sharpening wheel allows it to have a longer sharpening lifespan without the need for a new sharpening wheel
- Runs quietly
Cons:
- Expensive ($900)
- Overkill for home cooks
- Takes up dedicated counter or cabinet space
- Must remove the angle clip to use with taller knives
- Relatively heavy if you plan on moving it around the kitchen
5. The Whetstone Progression (#1000, #5000, #8000 Grits)
Shop Whetstones on Amazon: #1000 Grit, #5000 Grit, #8000 Grit
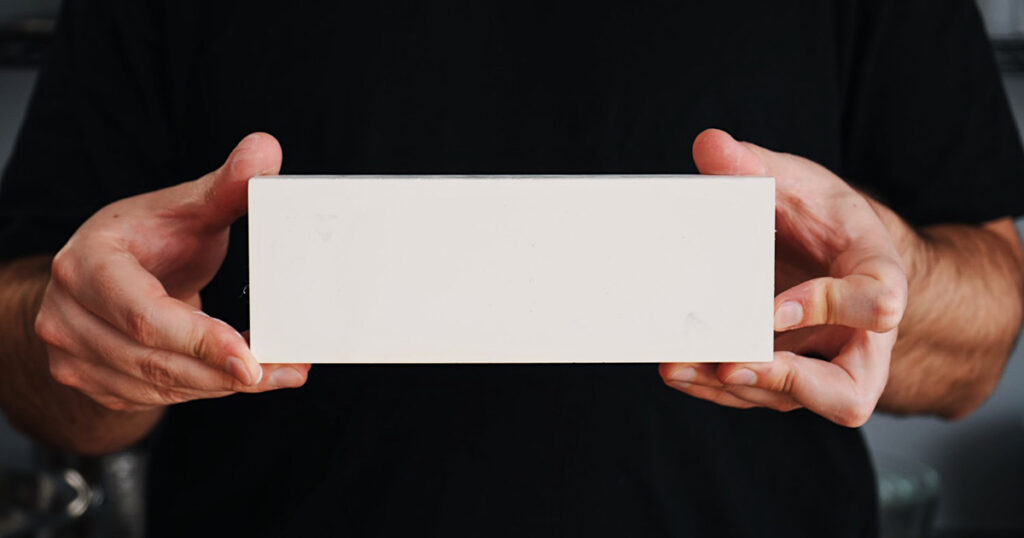
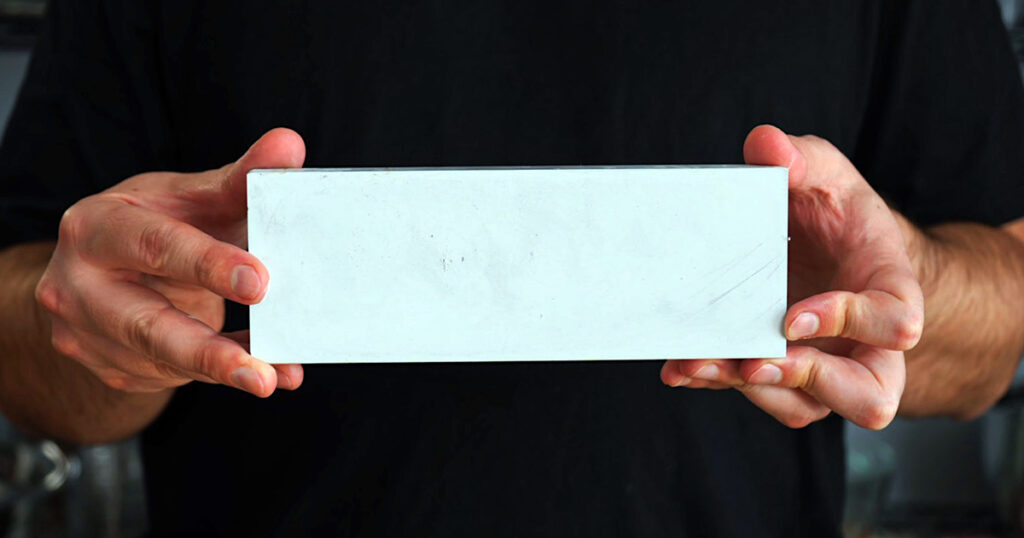
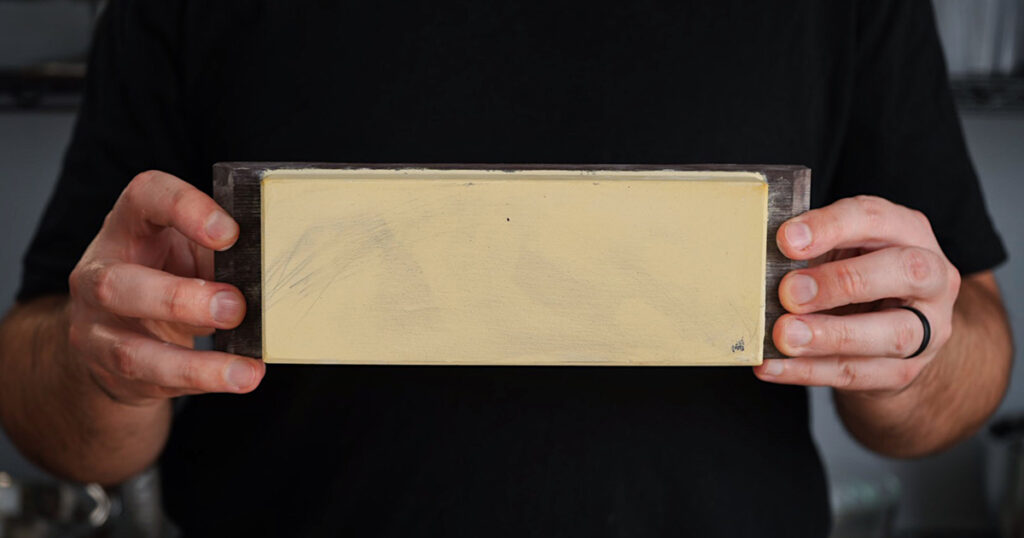
Whetstones are the gold standard for traditional sharpening. The #1000 grit stone is your foundational stone for sharpening. It removes enough steel to establish a brand new edge, and is really the only grit whetstone you need. Many of the world’s best knife sharpeners and makers only take their knife edge to #1000 grit as it provides a better “bite” into anything they cut. Another benefit of not going past #1000 grit is that you end up removing less metal and extending the lifespan of your knives.
While skipping steps technically saves metal, the #1000 grit stone is the most abrasive part of this progression and does the vast majority of the steel removal. The #5000 and #8000 stones remove a microscopic amount of steel, but still remove steel nonetheless.
However, if you want to take your knives to the sharpness level of insanity, you will want to go past the #1000 grit stone. The #5000 grit refines the microscopic “teeth” left behind by the 1000 grit. This takes your knife to one level of sharpness above what you would normally get from a brand new, high quality chef knife. Finally, the #8000 grit polishes the edge to a mirror finish, reducing drag. This is the semi-final step before getting a knife as sharp as it can possibly get, with the final step being the stropping process.
I think this is the absolute best knife sharpening equipment money can buy, however, the learning curve, and time component are a significant drawback.
Pros:
- If used properly this will achieve the sharpest edge of any method
- Offers the ultimate control over your knifes edge
- Gold standard for the sharpest knife possible
- Relatively inexpensive per stone ($45-$65)
Cons:
- Steep learning curve
- Requires muscle memory to hold a consistent angle
- Takes significantly more time than other methods
- Some stones must be pre soaked for 15-20 minutes
- Must be flattened before use
6. #400 Diamond Flattening Steel
Shop the Diamond Flattening Steel on Amazon
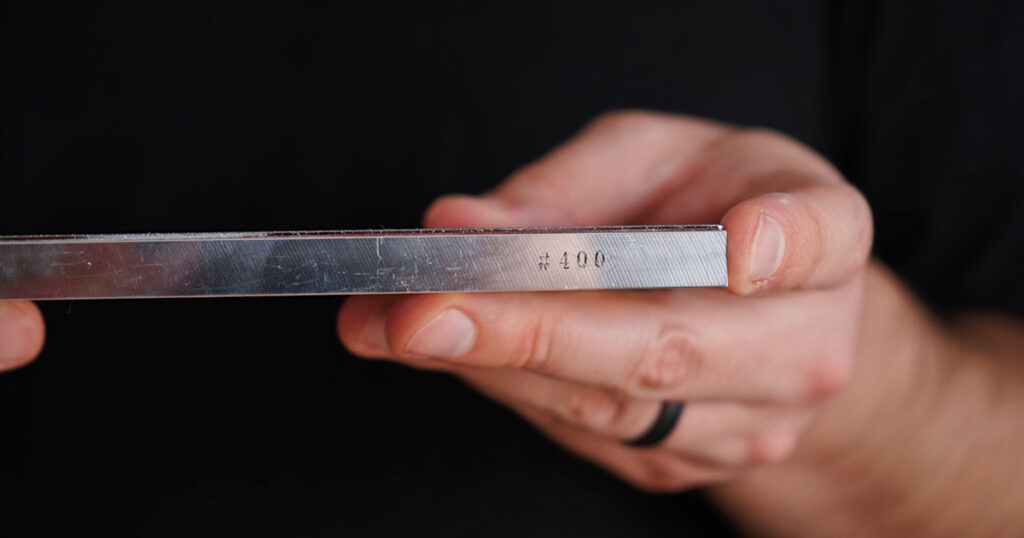
As you sharpen on whetstones, you slowly wear a U-shaped dip into the center of the stone. You cannot sharpen a perfectly straight edge on a curved stone. A heavy, coarse #400 diamond plate is what is used to grind your whetstones perfectly flat again.
Pros:
- Heavy-duty and should last for life
- Keeps whetstones flat for consistent sharpening
Cons:
- Expensive but necessary for whetstones
7. Adjustable Whetstone Holder
Shop the Whetstone Holder on Amazon
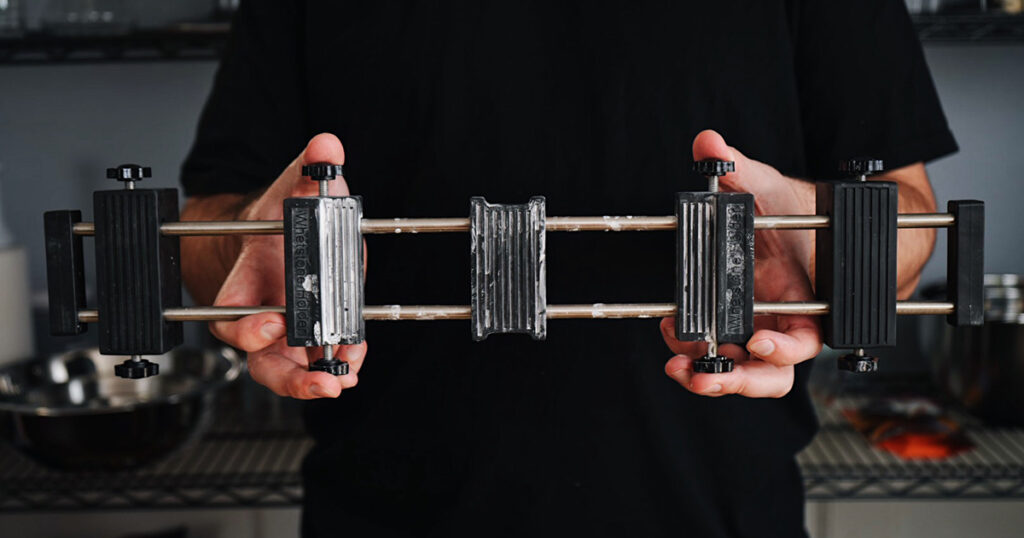
Whetstones need to be completely stable. If your stone shifts while you are applying pressure, you will ruin the angle you are trying to cut, or worse, slip and cut yourself. This $20 tool locks the stone in place over your sink. It keeps the mess flowing down the drain and allows you to use a slow drip on your faucet to keep your stones wet during the sharpening process.
Pros:
- Cheap and adjustable
- Keeps your workspace clean
- Holds whetstone in place under the faucet so you can have a continuous stream of water
Cons:
- None
8. Leather Strop & Diamond Compound
Shop Leather Strops and Diamond Compound on Amazon
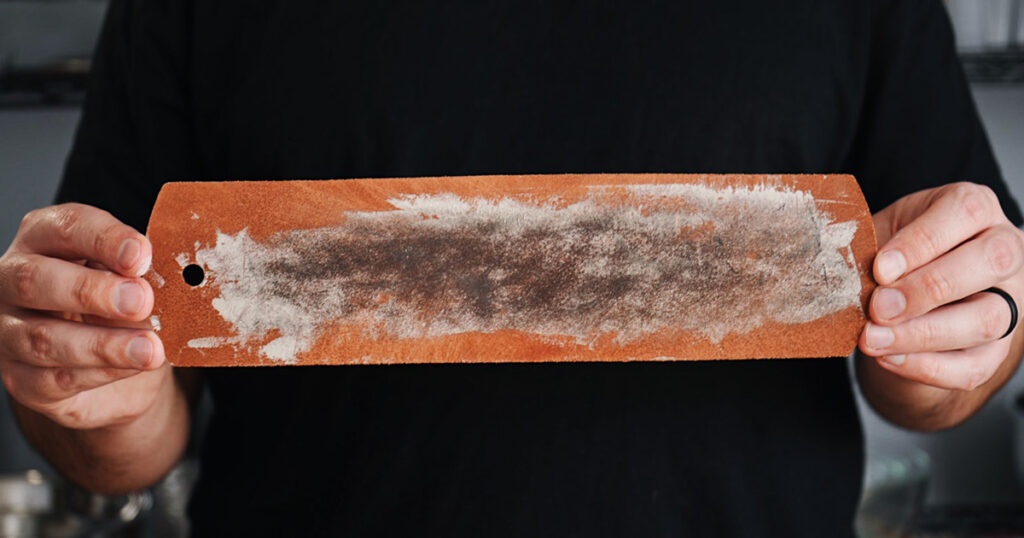
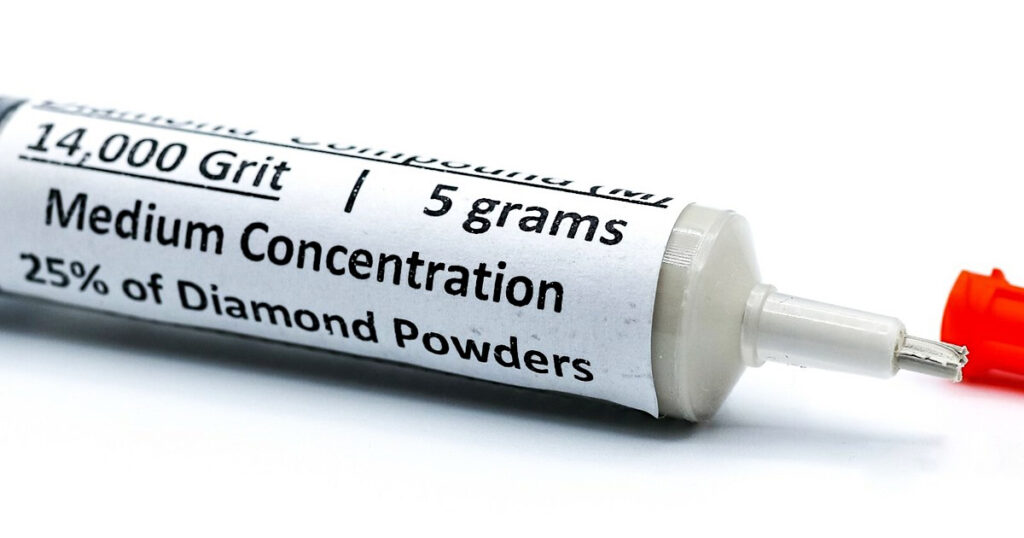
When you sharpen a knife, you push the metal over to one side, creating a microscopic “wire edge” or burr. The leather strop, catches and snaps off that burr, leaving behind a surgically sharp edge. The addition of the diamond compound adds a micro abrasive layer to the leather almost acting as a #14,000 grit stone for that final bit of polish to the knifes edge.
Regardless of which sharpening method you choose, using a strop is a must after sharpening.
Pros:
- The secret to taking a knife from “sharp” to “scary sharp”
- Cheap
- Easy to use
Cons:
- Must be cleaned from time to time to remove metal debris
Which Setup is Right For You?
If you truly want the best knife sharpening equipment it would have to be the Whetstones. Out of the methods listed above this will get the edge of your knife the sharpest. However, there are several drawbacks including needing the flattening stone, it takes a good bit of time, and the learning curve for using whetstones is quite steep. It took me a good 30 sharpening sessions or so before I was able to consistently achieve that razor sharp edge on my knife. On the plus side, once you have the technique dialed, there is no better way to sharpen your knife!
If you just want your knives incredibly sharp with zero learning curve and you have the budget for it, the Tormeks would be your best option. About 80% of my knife collection is sharpened on my Tormeks because of how easy and quick the whole process is. The only time I use whetstones is for my high-end knives that I don’t want to shave a good chunk of the material off of.
If you are going for budget friendly and want an easy way to get a knife “sharp enough” then the rolling knife sharpener is the way to go. Because of my extensive supply of the best knife sharpening equipment I rarely use the rolling sharpener. It’s my go-to for traveling but for home use I go with the Tormek for speed and consistency, and whetstones when I need maximum sharpness.
Regardless of what method you use, you should always have a honing rod and leather strop on hand. Using the honing rod and leather strop weekly will greatly prolong the edge sharpness on your knife resulting in spending less time having to sharpen them. And always remember to hone your knives on the ceramic honing rod before sharpening, and then pass your knives over the leather strop after sharpening.
Once you’ve used the best knife sharpening equipment and need something to test your knives on, check My Recipes Here!
Yhe best presentation. It cuts like a sharp knife.
Thank you!